Effortless Lighting, Part 1
The last couple of posts described adding recessed lighting to our home. In this effort, I'll use a custom PCB as well as a 3D printed enclosure to make recessed lighting for the bathroom. Anyone who's stubbed their toe trying to fumble to the bathroom in the dark could appreciate this project.
I wanted the same behavior as with the motion detectors in the kitchen, but I wanted a single custom enclosure to contain the PCB and PSIR in as small a form factor as possible. For this, I turned back to OpenSCAD and came up with this:
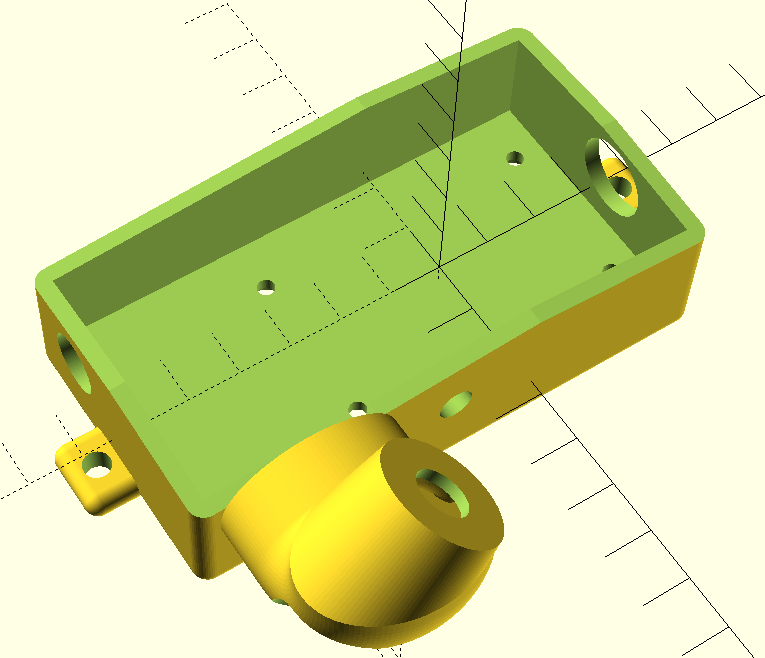
The features of this enclosure include:
- Cutouts for bolts that will secure both the PCB and the lid
- Cutouts for a power in jack for the PCB, a power out jack for the LED strip, and an antenna
- Angled PSIR mount
- Mounting tabs with screw cutouts
- Beveled lid
Importantly, the PSIR needs to be able to slide into its mount:
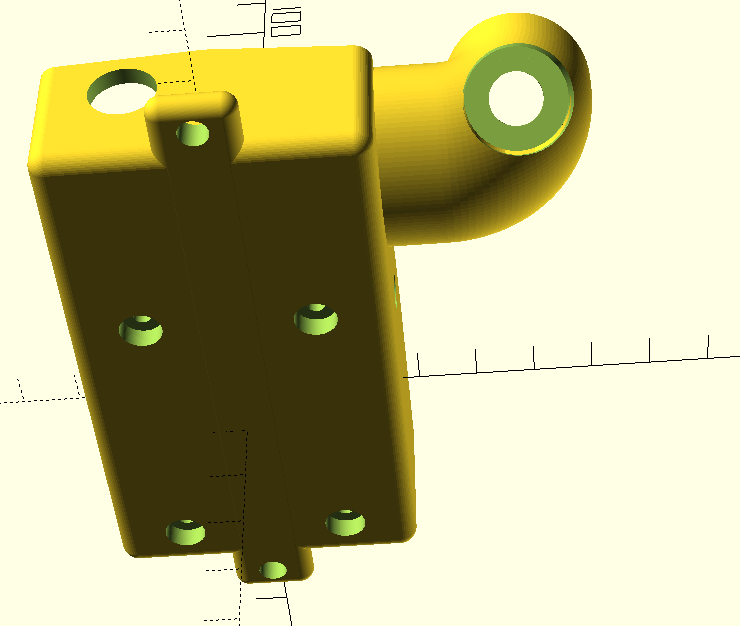
The lid and a seal for the PSIR mount cutout are printed as separate parts.

Assembly went pretty smoothly. I allowed some space for the wiring, which turned out to be prudent. The clearance between the antenna cable and the board was much tighter than intended, but I was lucky that it didn't prevent assembly.
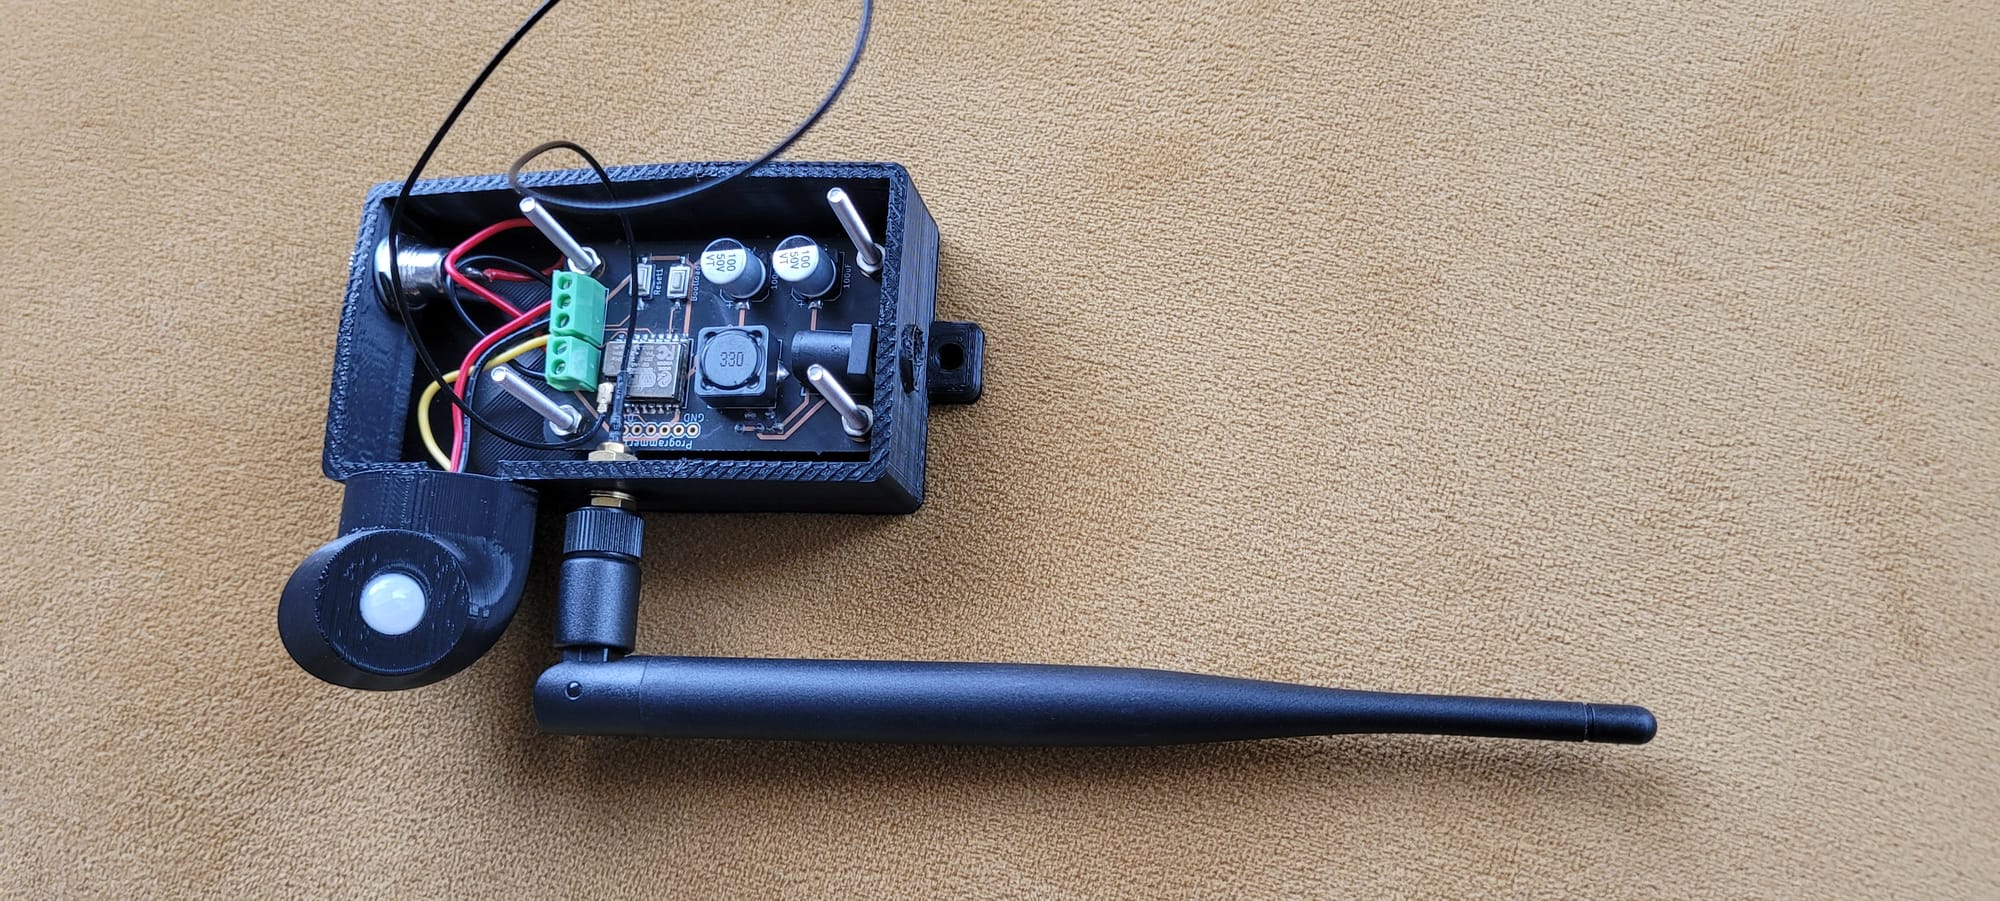
All put together, it looked quite nice. I designed the board to fit the M5 bolts I ordered for the case. Low grade commercial 3D printers aren't microscopically accurate, but they fit quite nicely. Perhaps next time I'll try for an embedded nut design.
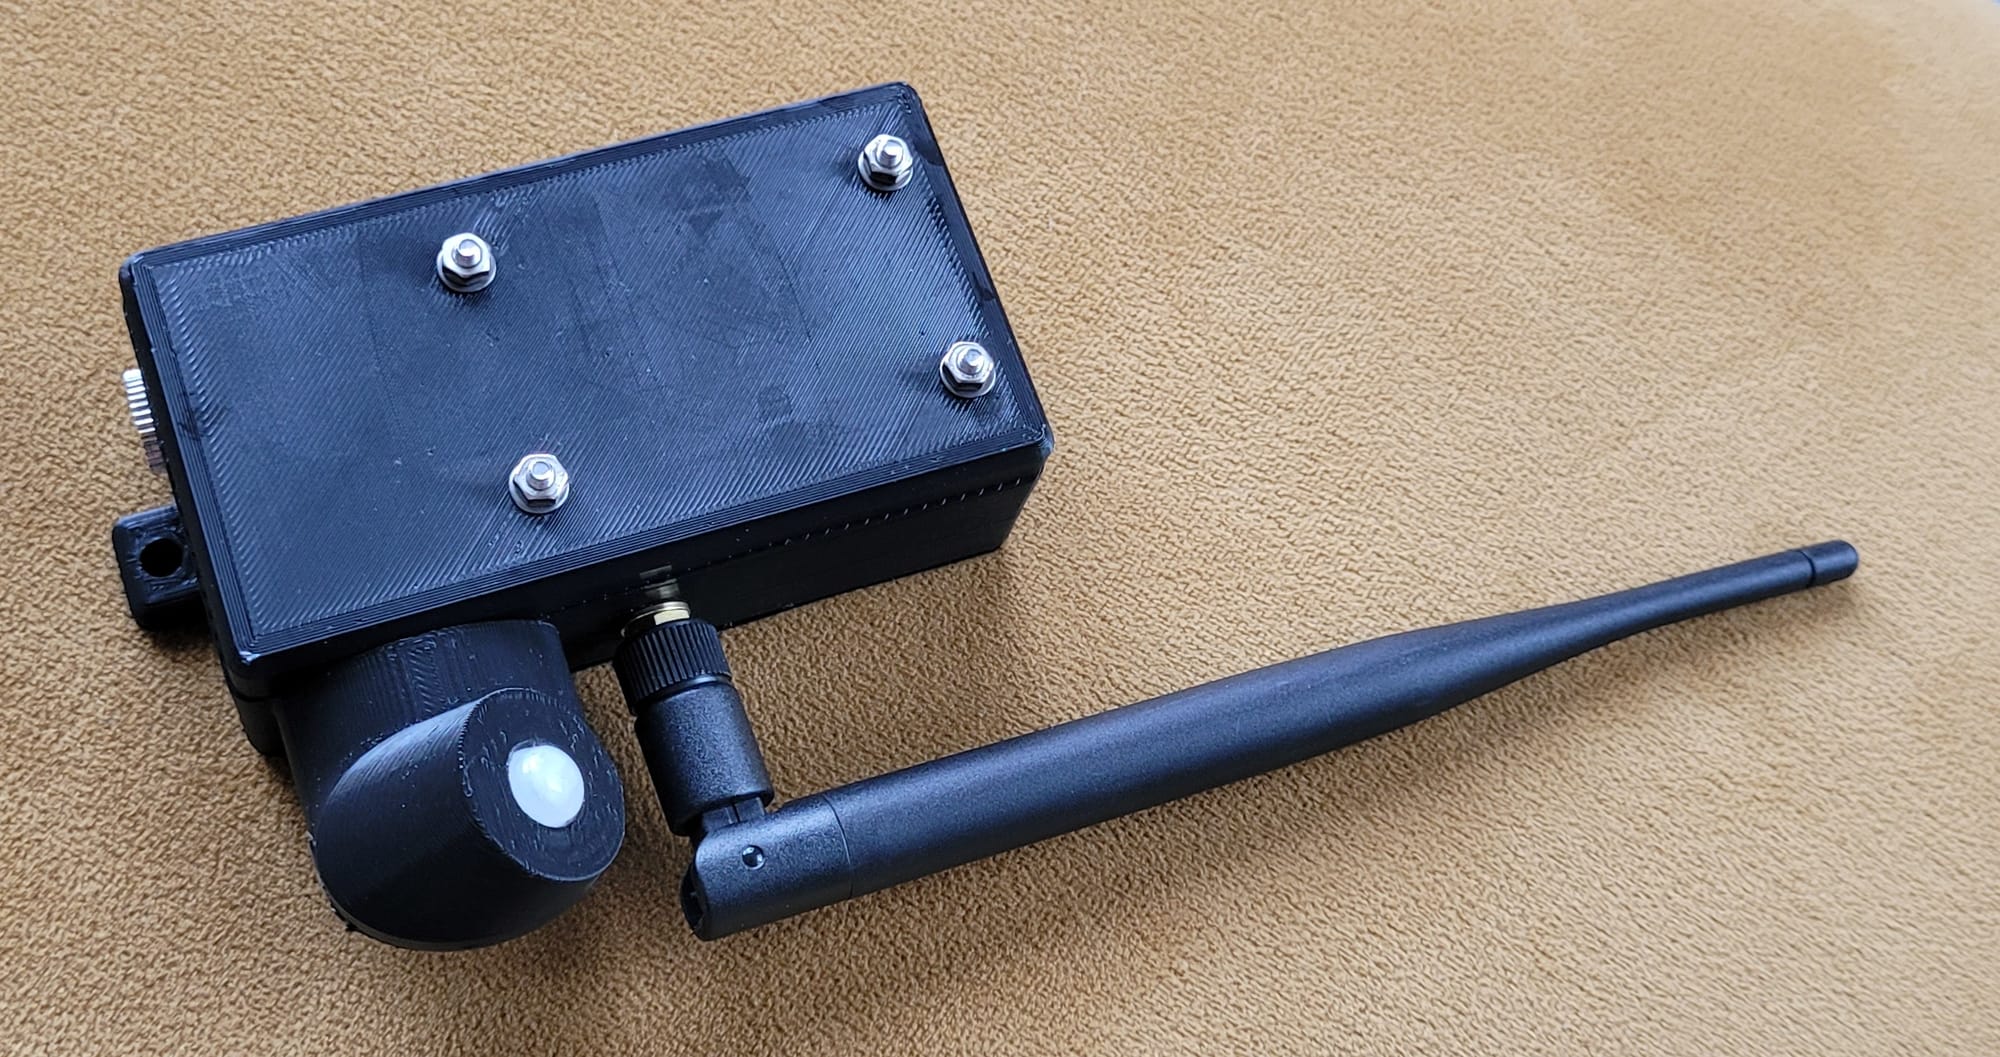
Commercial 3D printers also don't make perfectly smooth surfaces, and this is particularly true where surfaces require supports. I printed the PSIR mount with the outer surface facing the bed, which meant the supports attached there. This left the surface discolored. But, this enclosure is going to be hidden under a recess, so aesthetics don't matter much.
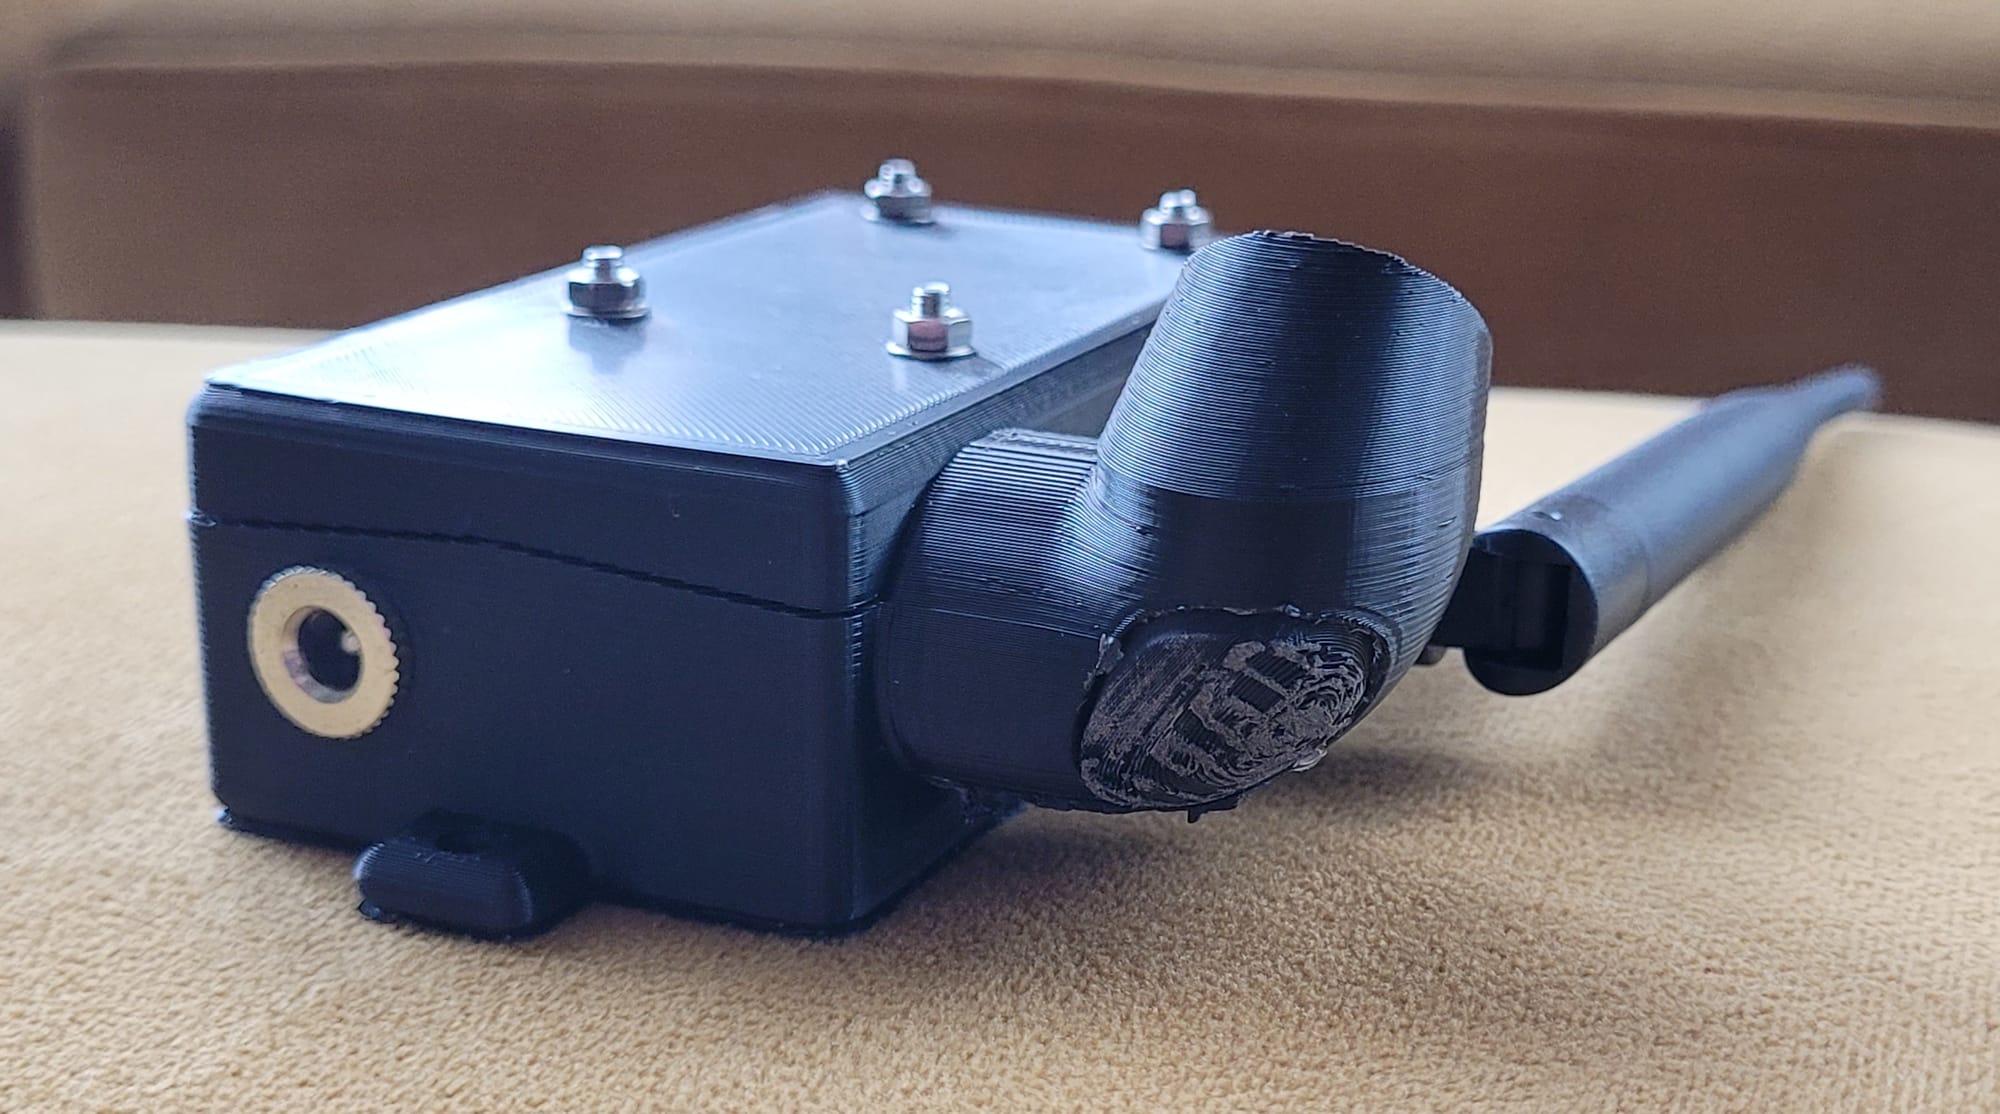
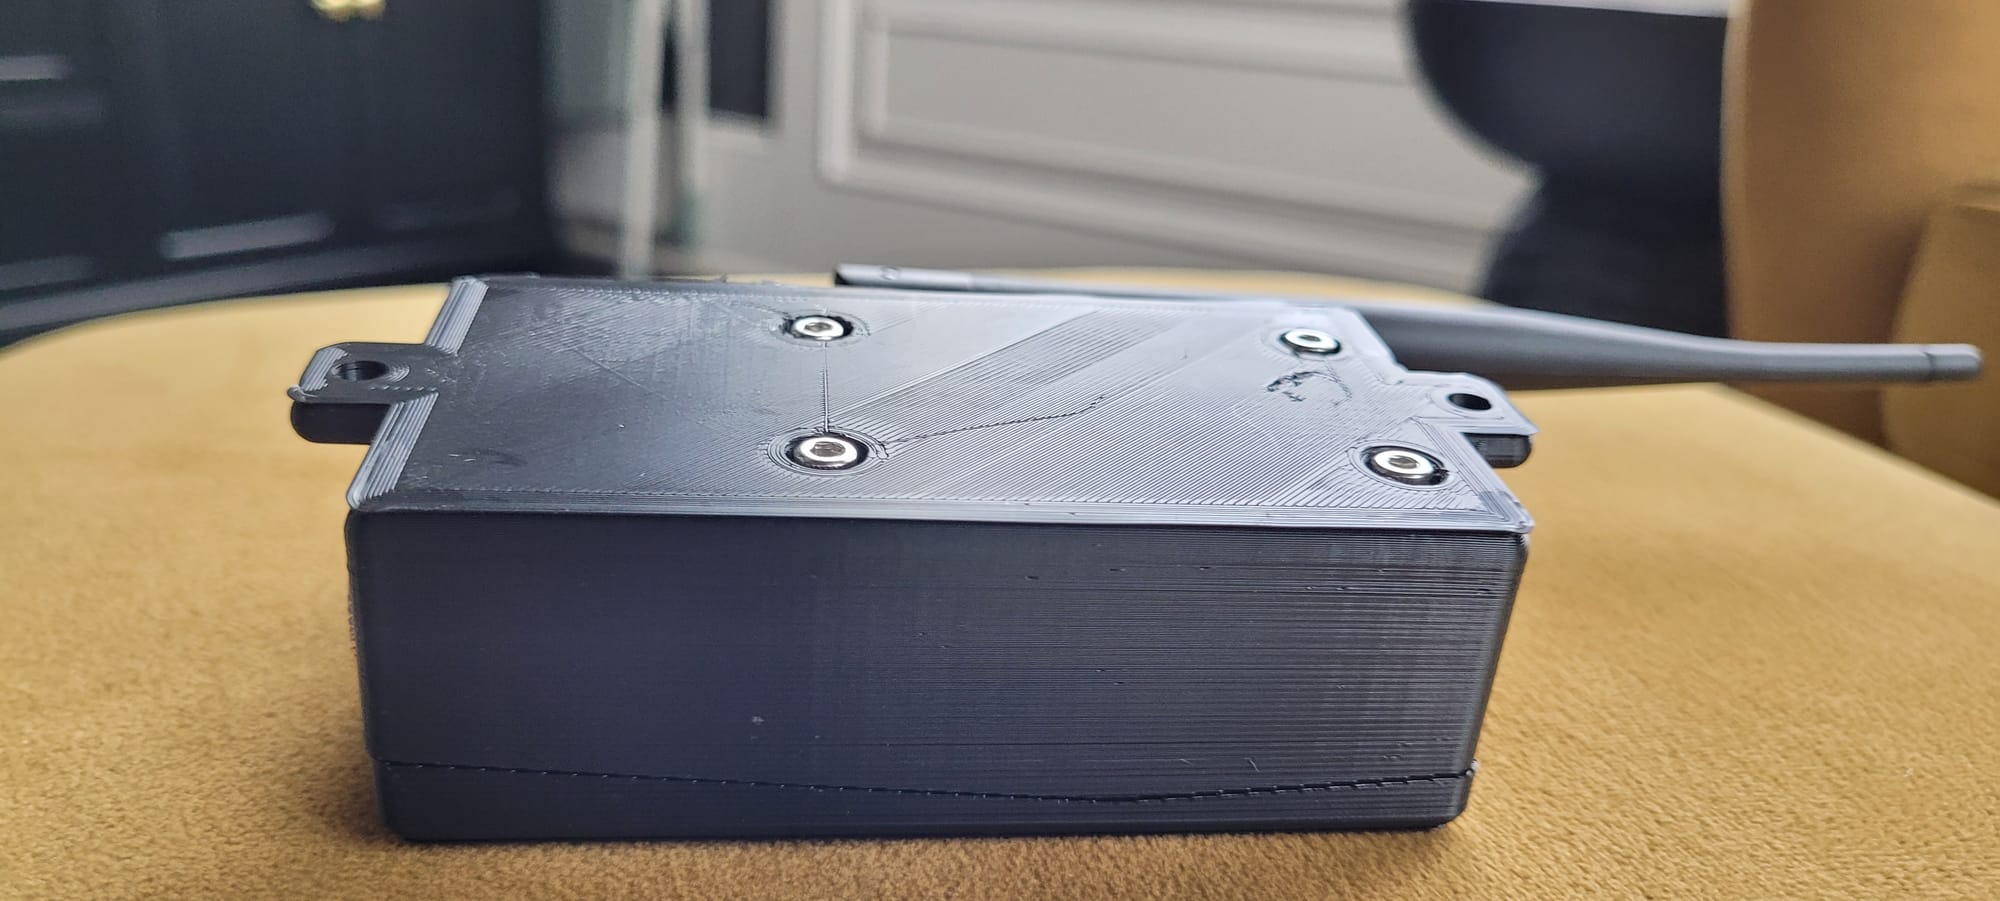
Functionality is important, and mounting the enclosure cleanly against a surface was one objective. The recesses for the bolt heads and washers did come out quite nice and are flush with the back of the enclosure. However, I should have made the mounting tabs longer. The cutouts are too close to the enclosure wall, and I had to angle my screwdriver with respect to the screw while mounting.
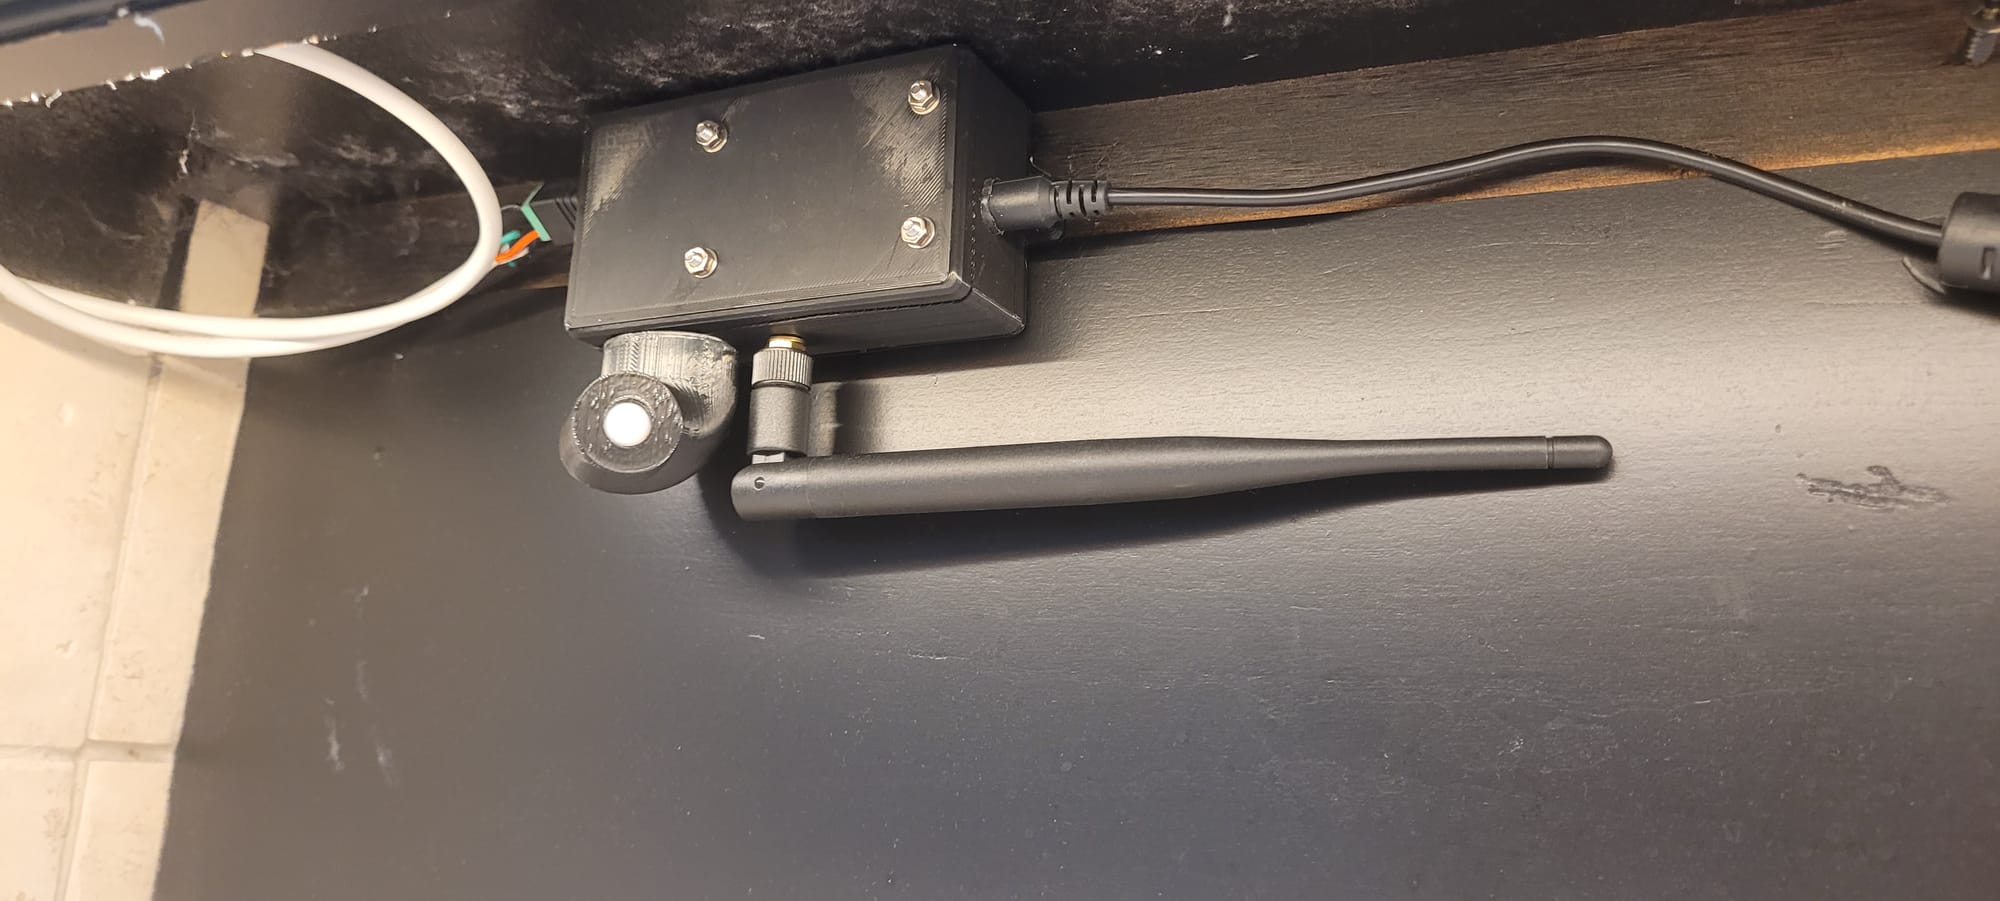
Although I wish its range were a little better, the motion sensor works great in this location and is triggered when you walk in front of the counter.
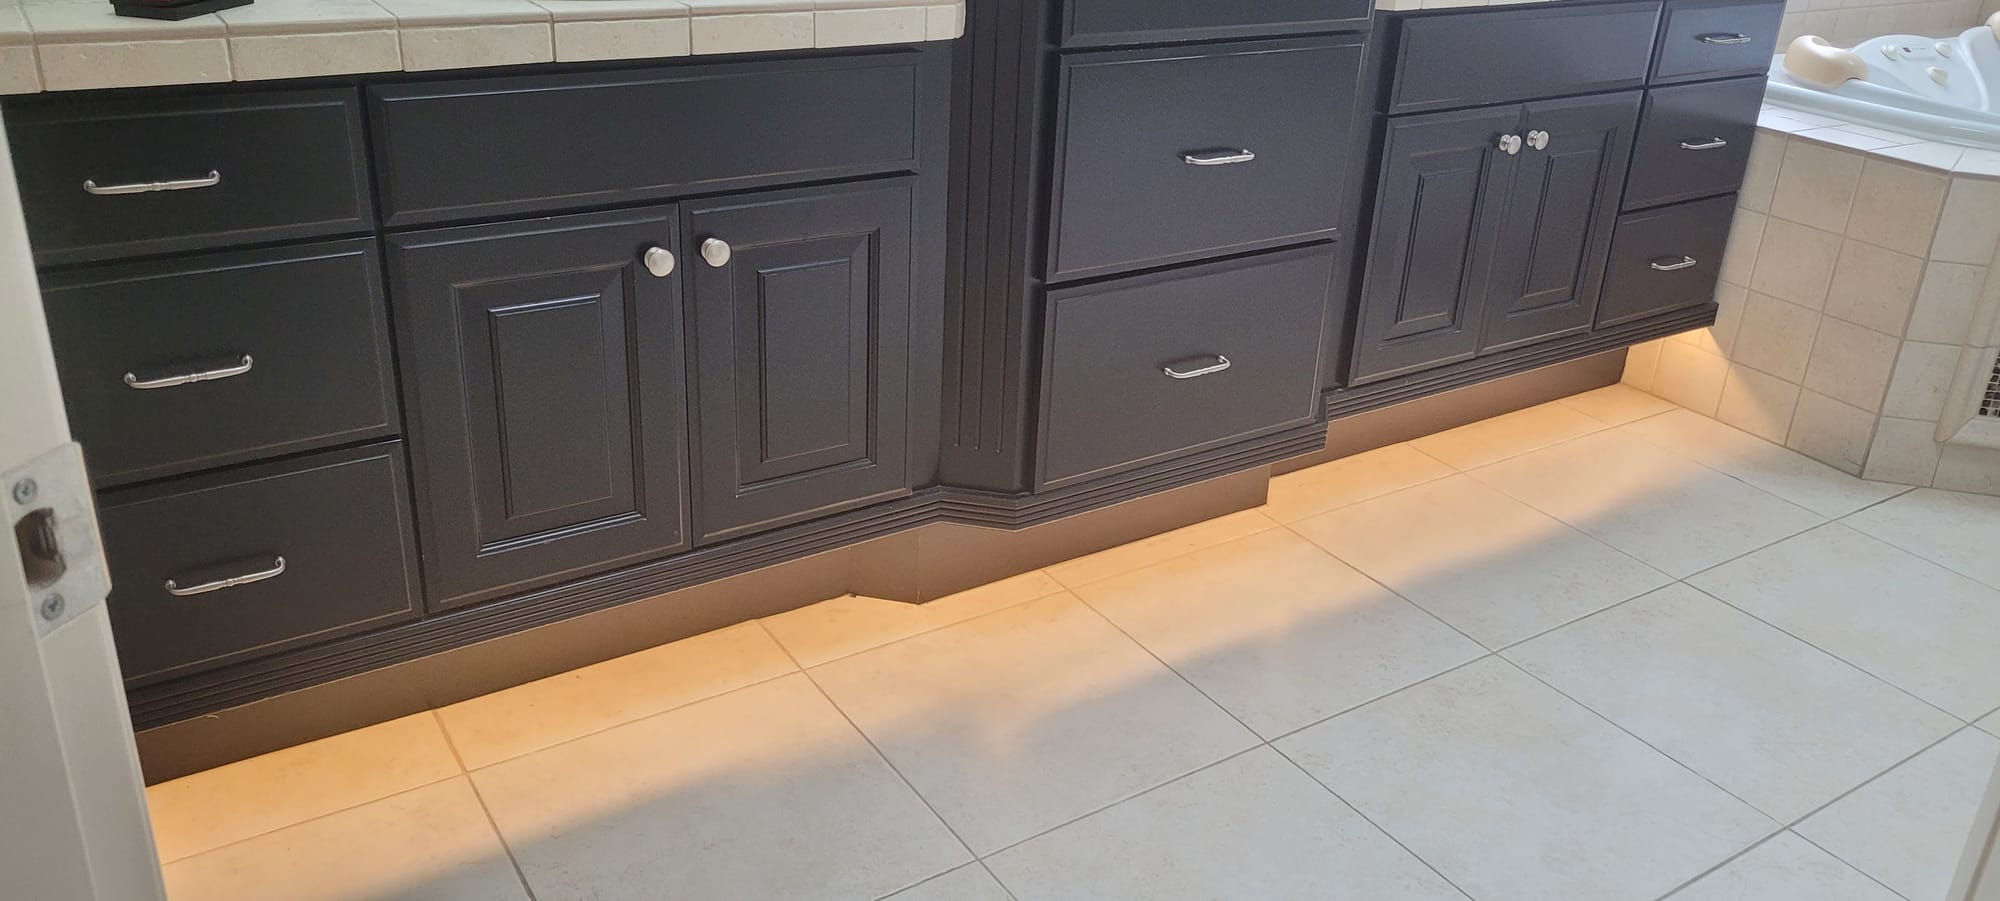
As I mentioned above, I wanted the control logic for this device to work a little differently from the recessed lighting in the kitchen. First, since it's a single controller, it should be able to function independent of the Home Assistant server. This requires a little extra configuration.
globals:
  - id: last_motion_time
    type: uint
    restore_value: true
    initial_value: "0"
  - id: auto_enabled_state
    type: bool
    restore_value: true
    initial_value: "true"

number:
  - platform: template
    id: light_time
    name: "Autolight Time (seconds)"
    min_value: 10
    max_value: 6000
    step: 1
    initial_value: 30
    restore_value: true
    optimistic: true

switch:
  - platform: template
    id: auto_enabled
    name: "Auto Enabled"
    lambda: |-
      return id(auto_enabled_state);
    turn_on_action:
      - lambda: |-
          id(auto_enabled_state)=true;
    turn_off_action:
      - lambda: |-
          id(auto_enabled_state)=false;

light:
  - platform: monochromatic
    name: "Lights"
    id: light_0
    output: output_component

output:
  - platform: esp8266_pwm
    id: output_component
    pin: GPIO4

binary_sensor:
  - platform: gpio
    pin: GPIO5
    name: "Motion"
    device_class: "motion"
    on_press:
      then:
        - if:
            condition:
              lambda: |-
                return id(auto_enabled_state);
            then:
              - light.turn_on: light_0
              - lambda: |-
                  id(last_motion_time)=millis();
              - wait_until:
                  condition:
                    lambda: |-
                      uint millis_now=millis();
                      if (millis_now<id(last_motion_time)){
                        id(last_motion_time)=0;
                      }
                      return millis_now-id(last_motion_time)>=id(light_time).state*1000;
                  timeout: 10min
              - light.turn_off: light_0
This configuration just creates a few variables and some logic that will turn the light on when motion is detected and turn it off again if motion isn't detected for a certain amount of time. What's nice about doing it this way is that this automation can be enabled or disabled and the delay can be set through Home Assistant, so Trang can adjust them.

These variables are also accessible for further automation at the Home Assistant level. Right now, it turns on the automation 10 minutes before sunset and turns it back off 10 minutes after sunrise.

I also want to make sure that if the brightness is increased during the day that it is automatically dimmed during the evening. Who wants garish bright light during a midnight bathroom trek? I added the following segment to the "Good Night Adults" script.

When the "Good Night Adults" script is run, which occurs automatically each night at 10:00 PM, this segment decreases the brightness. To avoid any errant flickering, if the light is off when this runs, it turns it on, decreases the brightness, and turns it off immediately. This is necessary because Home Assistant doesn't have a way to change the brightness of a light that's off. Fortunately, this happens so fast that the light doesn't even noticeably flicker.